Why Do We Need to Outline Our Type?
Before sending a file to a printer, there are a few important steps that must be considered. One of those is making sure that the type in the document is turned into outlines. If the printer needs to make an adjustment to the file (fix color, adjust bleeds, etc.) and the type is not outlined, there could be font issues that cause the copy to change or re-flow. Sometimes these changes may not be noticed until after the job is printed. It is a very simple process that only takes a moment. Once it is done, the type is turned from a type box to vector outlines and can no longer be edited. This tutorial is for Adobe programs such as Adobe Illustrator or Adobe Indesign. Always remember to check your copy before converting to outlines, because it can not be edited afterward.

How to Create the Outlined Type
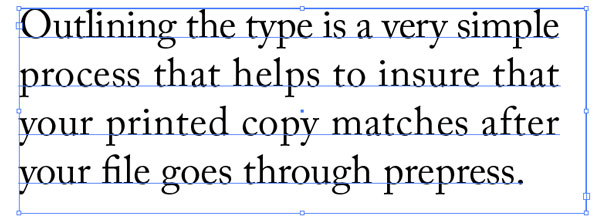
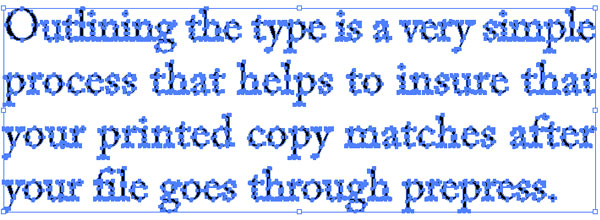
In the above Image, the top line of text is type while the bottom line is outlines. As you can see the outlines no longer have editable type; they have the individual vector points of the outlined shapes. In order to outline the type, one needs to select the type box as a whole so that it looks like the below image.

Then if you are on a PC, press CTRL + SHIFT + O, or if you are on a Mac, press CMD + SHIFT + O. The type can also be outlined from the top menu by selecting “type” then selecting “create outlines” from the drop down menu. Afterwards your type will turn to paths and look like this image below.

Finished Type Outlines
Now the type is outlined and safe to send to the printer. Remember to check that the other parts of the document are ready to go to pre-press before sending it to your printer. Outlined type can be helpful when creating typographical designs; it removes the need to work with type boxes and allows direct editing of the shape of the characters directly.


Leave a Reply